Nissa-Lynn Interiors' Mirror Makeover How-To

Are you wanting to refresh a bathroom mirror in your home without spending tons of time and money to remove an existing mirror and replace it with a completely new one? I found an amazing solution!
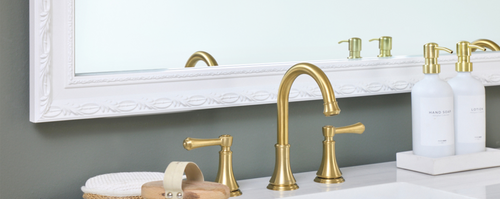
The last few months I’ve been refreshing some spaces in my home - one of which was my master bathroom. I wanted to update the large plain mirror over the bathroom vanity, but I didn’t want to pay to replace the perfectly good existing mirror with a new one. Enter MirrorMate’s DIY mirror frames! The company provides the perfect way to update my master bathroom mirror - and it’s so simple! Check out this before and after!


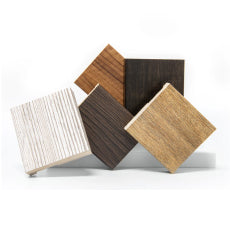
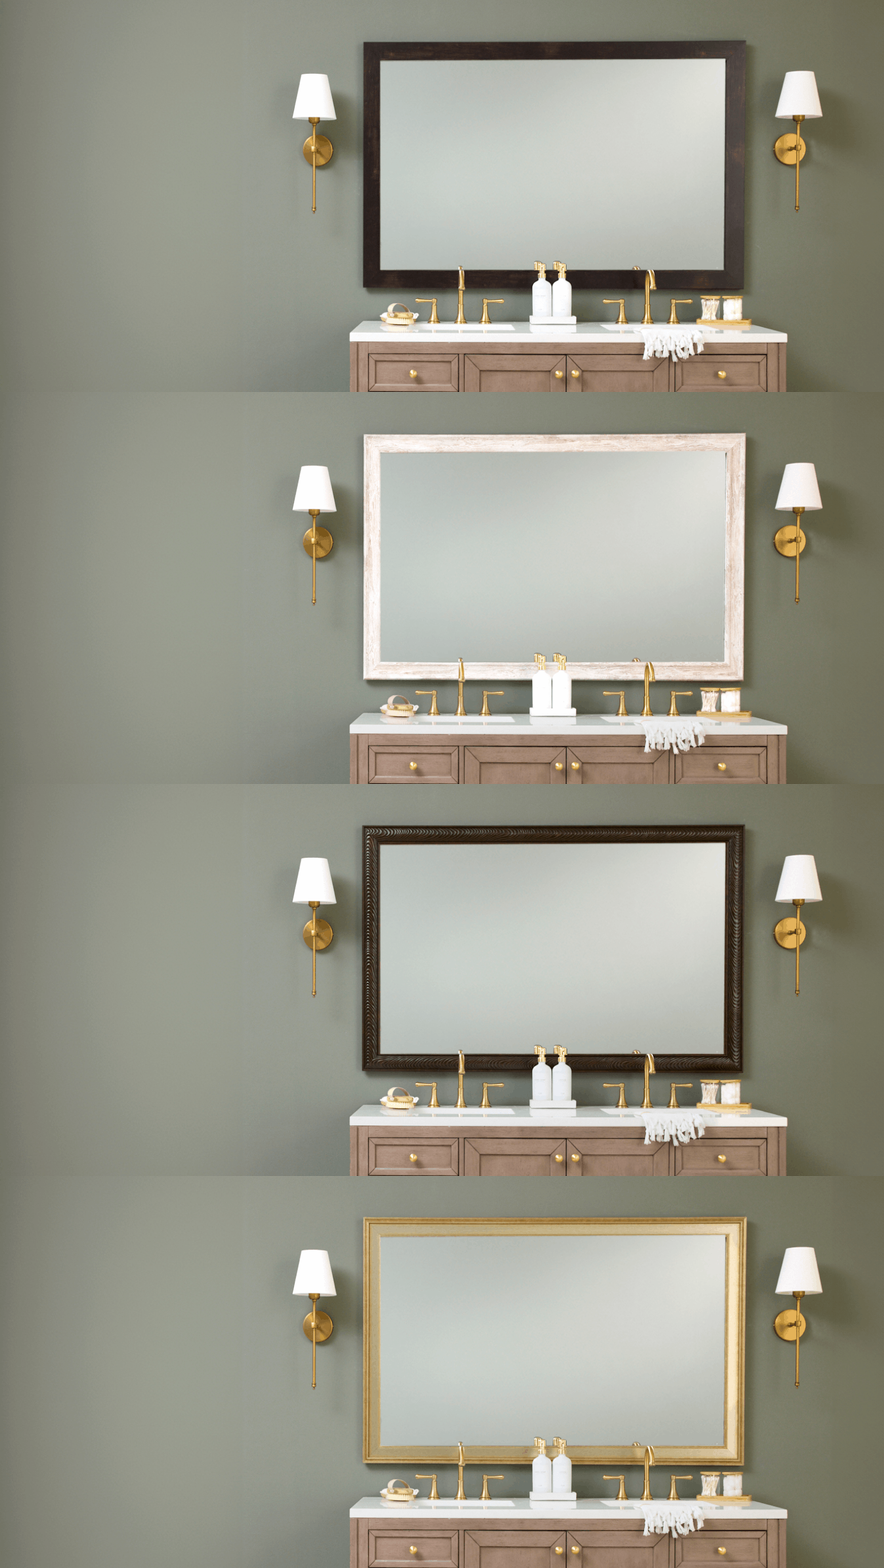
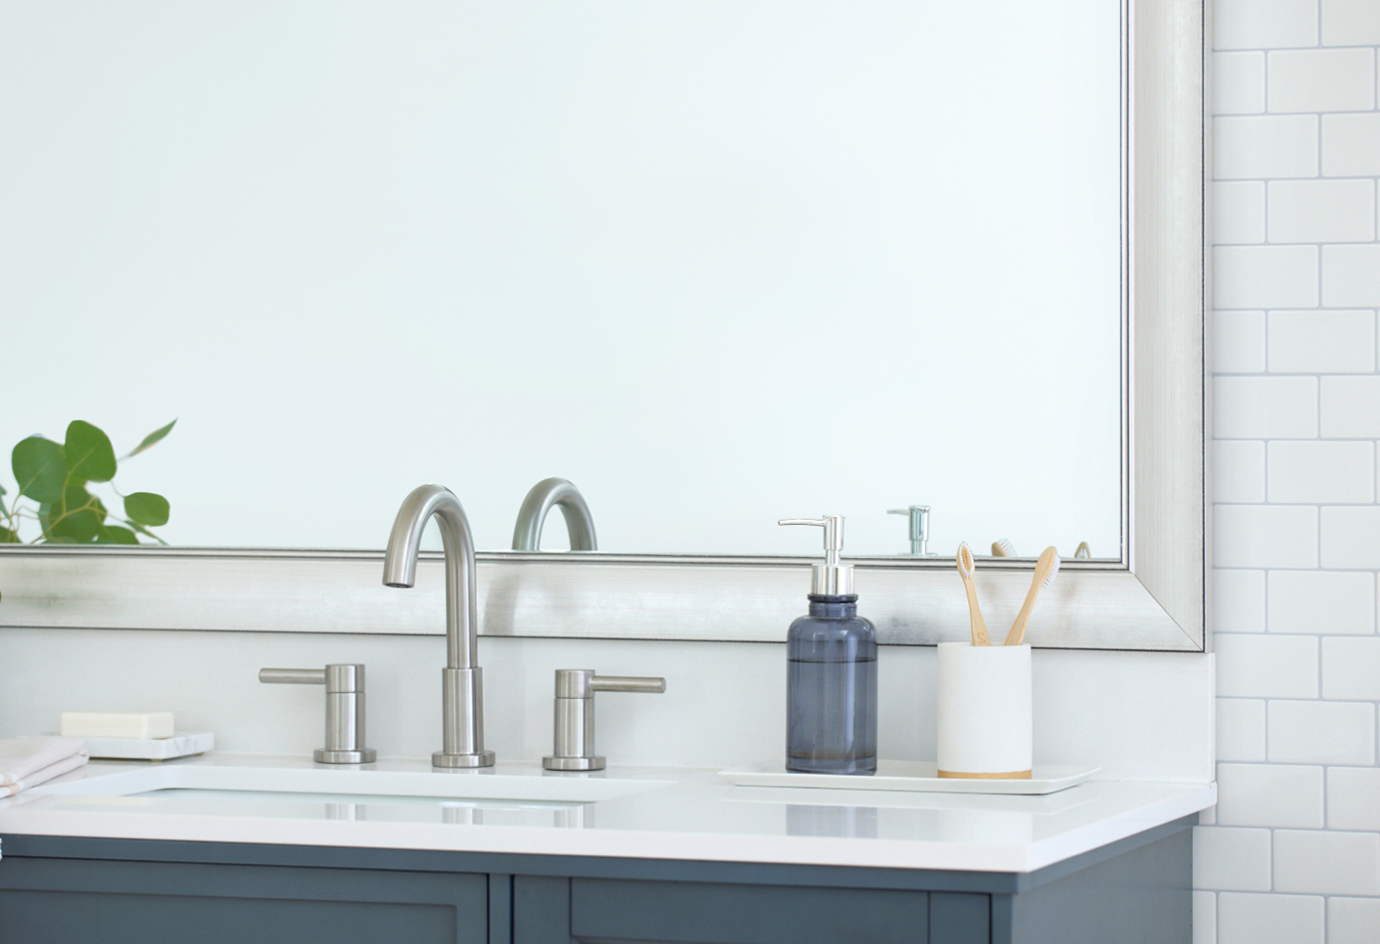
The first thing I did was go on the MirrorMate website to explore all of the color and texture options. MirrorMate offers so many selections in different categories. I knew I wanted a silver-colored frame to go with my current bathroom faucets and lighting fixtures. After exploring the website, I had an idea of the frame I wanted, but to make sure, I ordered three frame samples. I love that MirrorMate offers samples; it really helps put your mind at ease about your frame choice. After checking the samples against my mirror, I decided the Solana Modern Silver frame was the perfect choice for the elegant look I was going for. Plus, the Solana frame would pair nicely with my existing white cabinets and cultured marble countertops.


The samples came with instructions on how to measure the mirror to get the correct size. Each frame is custom made to fit each individual mirror. After I obtained all the measurements, I went to the website to input them and order the frame. Ordering was easy as the website walks you through the ordering process step by step! I submitted my order and couldn't wait for my frame to arrive!
When the MirrorMate frame arrived, I discovered that the assembly installation process was super easy as MirrorMate provides detailed instructions and supplies. I love that MirrorMate frames are a self-adhesive mirror border, pre-taped and ready to easily assemble and install on your mirror.

The first thing to do (if it’s a dark frame) is color the corner edges with the included dark sharpie so that the corner seam is less noticeable after the frame is assembled. Then lay all the pieces on the floor face down. Put a small amount of glue on both ends of the first corner (pro tip: put a piece of paper under the coroner to avoid getting glue on the carpet). Then use the provided plastic connectors. Repeat on the next three corners.

While the glue dries, and the frame is still laying on the ground, pull back about an inch of the backing off the self-adhesive strips. DO NOT REMOVE COMPLETELY. Bend or fold the part of the backing you removed so that it creates a handle. Make sure to clean your mirror so that the adhesive can stick well! Lift the mirror carefully in place, and then once the frame is in place, one by one pull the adhesive handles, and firmly press the frame against the mirror. You will be amazed with the difference the frame makes!

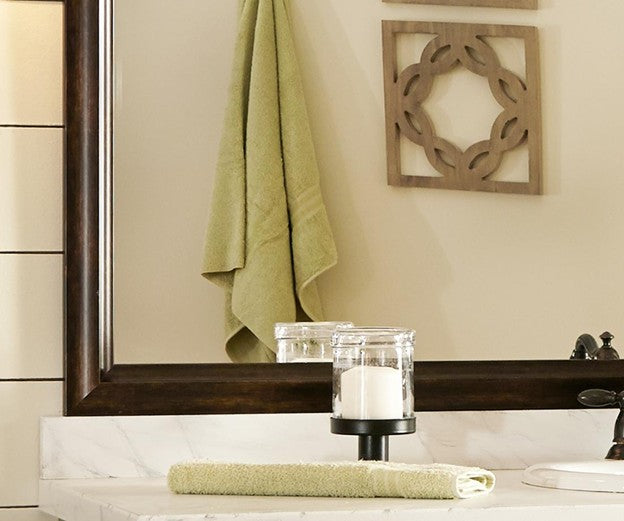
The room now feels complete! I absolutely love how my MirrorMate frame looks! It always amazes me how small and simple changes can make such an impact! And MirrorMate does make an impact! If you're looking to refresh your bathroom, I encourage you to check out this product.

Guest Post by:
Nissa-Lynn Parson
Nissa-Lynn Interiors
http://nissalynninteriors.com
Choose from 65+ styles
This is a common question and there are so many finishes from silvers to brass.
