How to Frame a Bathroom Mirror
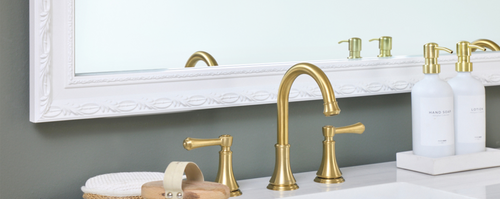
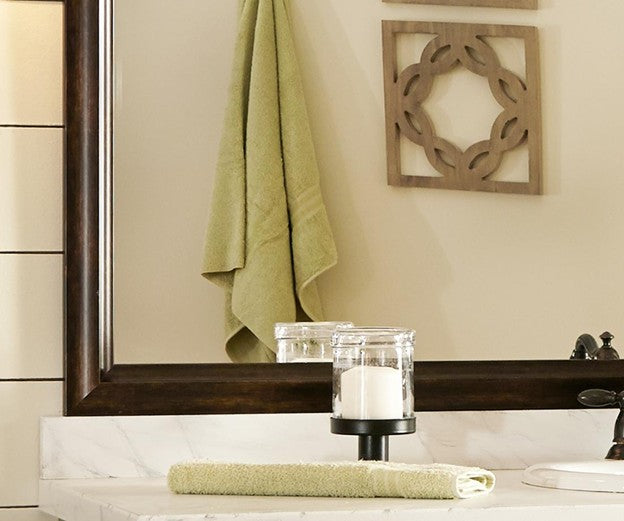
Contractor-grade, plate glass mirrors are typically the default selection installed when a home is built. It’s the easy, go-to choice, but lacks the custom finished look a homeowner aspires to when building or moving into a new home. Fortunately, it is easy to go beyond builder grade and get a designer-inspired look by simply retro-fitting the existing, wall-mounted mirror with a frame.
Wondering how to frame the mirror? While it is possible to DIY it by cutting store bought trim and gluing it in place, utilizing a frame kit makes the process seamless, and provides a professional-looking result in just minutes.

With a frame kit you’ll follow just 3 simple steps:
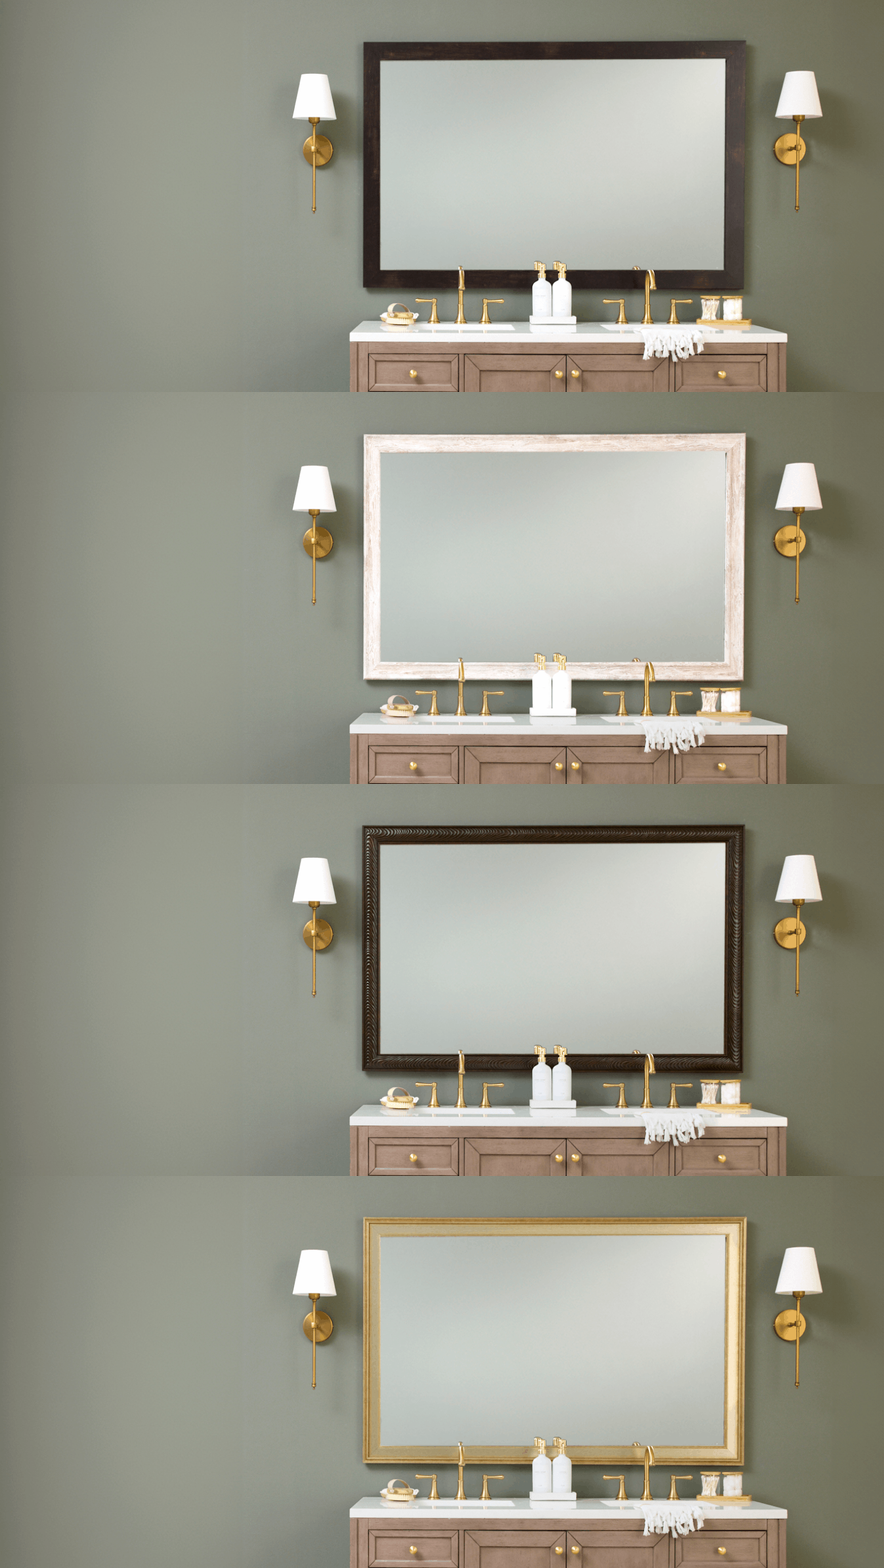
Step 1: Choose a frame from one of MirrorMate’s 65 different frame styles. With so many more available styles than trim you’d find at any big-box retailer, choosing a style is the hardest part!

Step 2: Follow the Measuring Worksheet to record the following and enter in the online ordering form:
- Height and width of the mirror
- Distance from any obstructions like the backsplash, wall, outlet or light fixture
- How your mirror is affixed to the wall
MirrorMate will take all this into account when creating your frame – ensuring it is a perfect fit for you. The custom frame is cut to your specs and delivered to your door in just days.

Step 3: Assemble & install your frame. Everything you need is included in the kit. The pre-taped frame presses right to the mirror. Voila!

Your mirror is finished in a fabulous new frame in just minutes. Kuddos to you!
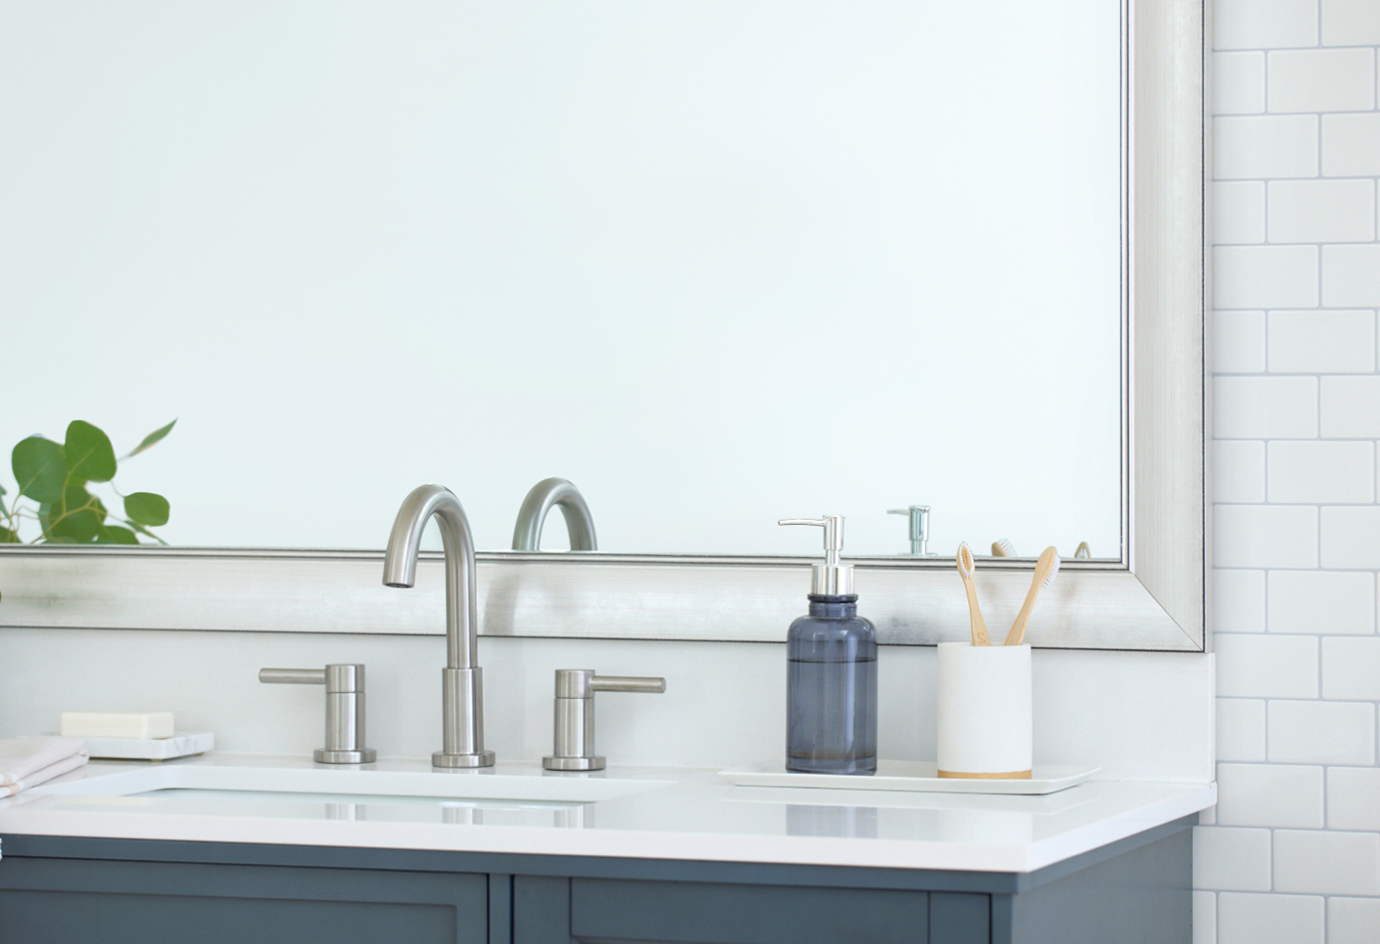
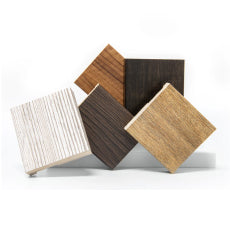
Choose from 65+ styles
This is a common question and there are so many finishes from silvers to brass.
